How to Install an Air Conditioner in Your Home
As the summer heat starts to rise, having an air conditioner is a necessity to keep your home cool and comfortable. However, installing an air conditioner can be a daunting task, especially if you’re not familiar with electrical work or HVAC systems. In this step-by-step guide, I will walk you through the process of installing an air conditioner in your home, including the different types of air conditioners, required tools and materials, safety tips, and troubleshooting common installation problems.
Types of Air Conditioners and Which One is Right for You
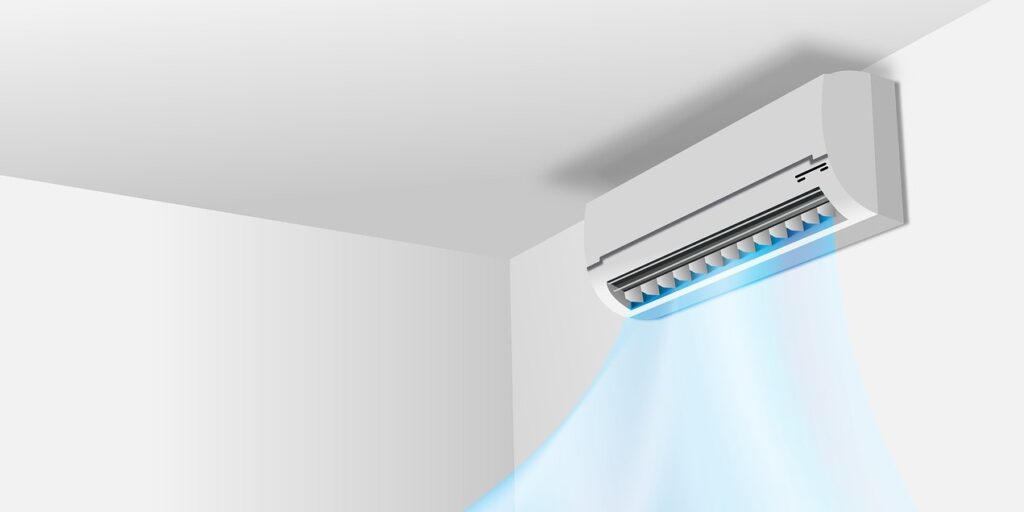
Before we dive into the installation process, it’s essential to understand the different types of air conditioners available and which one is suitable for your home. There are two main types of air conditioners: window units and central air conditioning systems.
Window air conditioners are ideal for small spaces, such as apartments or single rooms. They are easy to install and require minimal modifications to your home. On the other hand, central air conditioning systems are more suitable for larger homes and require professional installation. They use ducts to distribute cool air throughout your home and are more energy-efficient in the long run.
When choosing an air conditioner, consider the size of your home, your budget, and your cooling needs. Make sure to measure the size of the room or rooms you want to cool, and choose an air conditioner with the appropriate BTU (British Thermal Units) rating.
Required Tools and Materials for AC Installation
Before you begin the installation process, you will need to gather the necessary tools and materials. Here’s a list of the tools and materials you’ll need for installing a window air conditioner:
- Window air conditioner unit
- Brackets for mounting the unit
- Screwdriver
- Level
- Tape measure
- Pencil
- Foam insulation
- Weatherstripping
- Support brackets
- Power drill
For central air conditioning installation, you will need additional materials, such as ductwork, a thermostat, and refrigerant.
Preparing Your Home for AC Installation
Once you have all the necessary tools and materials, it’s time to prepare your home for installation. For window air conditioners, start by selecting a suitable location for the unit. Ideally, the unit should be installed on a north-facing wall to minimize direct sunlight and heat. Make sure the window is close to an electrical outlet and can support the weight of the unit.
Next, clean the area around the window and remove any obstacles that may interfere with the installation process. You may also need to remove the window screen and any storm window frames.
For central air conditioning installation, you will need to hire a professional to assess your home’s HVAC system and determine the best location for the unit. They will also need to install ductwork and connect the unit to your electrical system.
Installing a Window Air Conditioner
Now that you’ve prepared your home for installation, it’s time to install the window air conditioner. Here are the steps to follow:
- Install the brackets: Start by installing the brackets on the window sill and frame. Make sure they are level and securely fastened.
- Install the support brackets: Install the support brackets on the outside of the window sill and frame. Make sure they are level and securely fastened.
- Install the foam insulation: Cut the foam insulation to fit the window opening and install it between the top sash and the window frame. This will help seal any gaps and prevent air leaks.
- Install the weatherstripping: Install the weatherstripping on the bottom of the window sash to create a tight seal.
- Install the unit: Carefully lift the unit into the window opening and slide it into place. Make sure it is level and centered in the window opening.
- Secure the unit: Using the provided screws, secure the unit to the brackets and support brackets.
- Seal the gaps: Use foam insulation or weatherstripping to seal any gaps around the unit.
- Plug it in: Finally, plug the unit into an electrical outlet and turn it on to test it.
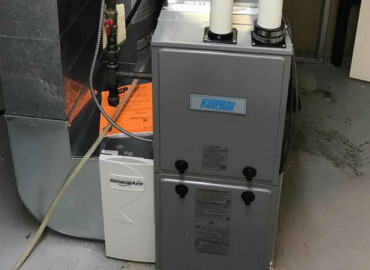
Installing a Central Air Conditioning Unit
Installing a central air conditioning unit requires professional installation. Here are the general steps involved:
- Assess your home’s HVAC system: The installer will assess your home’s HVAC system and determine the best location for the unit.
- Install ductwork: The installer will install ductwork to distribute cool air throughout your home.
- Connect the unit to your electrical system: The installer will connect the unit to your electrical system and install a thermostat.
- Add refrigerant: Finally, the installer will add refrigerant to the unit and test it to ensure it’s working correctly.
Safety Tips for Air Conditioner Installation
Installing an air conditioner can be dangerous if not done correctly. Here are some safety tips to keep in mind:
- Follow the manufacturer’s instructions carefully.
- Turn off the power before installing the unit.
- Use proper safety equipment, such as gloves and safety glasses.
- Be careful when lifting heavy units.
- Never work on electrical components if you’re not qualified to do so.
Troubleshooting Common AC Installation Problems
Even if you follow the installation instructions carefully, problems can still arise. Here are some common problems and how to troubleshoot them:
- The unit is not cooling: Check the air filter and clean or replace it if necessary. Also, make sure the unit is the appropriate size for the room.
- The unit is leaking water: Check the drain line and make sure it’s not clogged. Also, make sure the unit is level.
- The unit is making strange noises: Check for loose parts or debris inside the unit. Also, make sure the unit is level and securely installed.
Maintaining Your Air Conditioner
Regular maintenance is essential to keep your air conditioner running smoothly and efficiently. Here are some maintenance tips to follow:
- Clean or replace the air filter every month.
- Check the drain line and clean it if necessary.
- Keep the exterior of the unit clean and free of debris.
- Schedule annual maintenance with a professional to ensure the unit is working correctly.
Conclusion and Final Thoughts
Installing an air conditioner in your home can be a challenging task, but with the right tools and knowledge, you can do it yourself. Remember to choose the appropriate type of air conditioner for your home, gather all the necessary tools and materials, and follow the installation instructions carefully. Always prioritize safety and seek professional help if you’re not comfortable with electrical work or HVAC systems.
Keep your air conditioner well-maintained to ensure it lasts for many summers to come. With a little effort, you can enjoy a cool and comfortable home all summer long.