Thermostat says heat on but furnace not running
Suspecting the thermostat says the heat is on, but in actuality, the furnace isn’t running, causing no heat to come from the heat pump! Anyway, you are not the only one getting frustrated with this furnace thermostat problem.
Now, the question arises what to do to get the heat back on and the thermostat to start working? For detection, first of all, you’ll need to know the major culprits and then figure out the solutions to get rid of them.
Obviously, furnace problems can ruin your comfort during the winter. Call the technician to come out of it as soon as possible; otherwise, you will have to compromise your sleep for several days. However, frequent services are much more expensive than conducting the inspection yourself.
So, before spending the money for a furnace inspection or surrendering to freezing temperatures, try troubleshooting your unit at home. Laid back and start reading about common issues and preventive measures to get the furnace back in working condition.
What are the common reasons behind the thermostat saying heat on but the furnace not working?
Regardless of the setting of the thermostat, there are a number of problems that may cause a furnace not to blow hot air. These include:
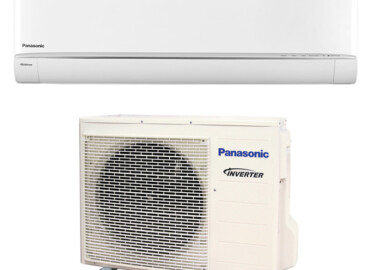
- Faulty heat pump
- The issue with thermostat wiring or Improper connections
- Dirty flame sensor
- The filter catches dirt and debris
- The issue with the thermostat temperature sensor
- Problem with Gas furnace pilot
- Outdoor Heat Pump Coils are not working, etc.
However, someone with minimal HVAC experience can easily fix most of the above problems without calling a professional. But, if heat is still not coming from the furnace despite your efforts and troubleshooting steps, talk to an HVAC specialist to address the situation.
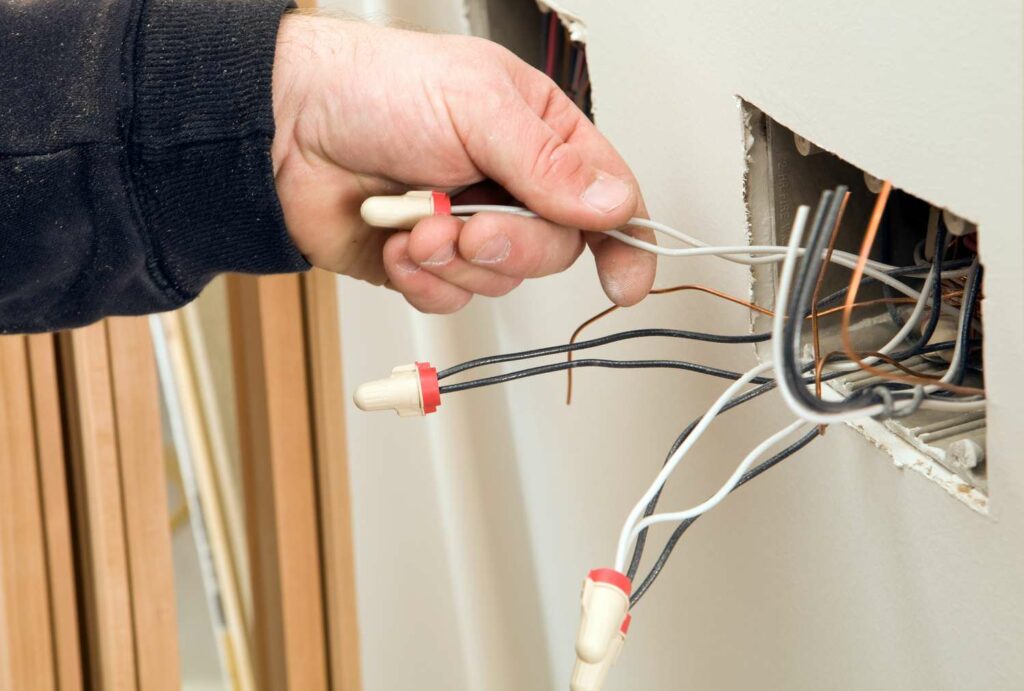
1. Faulty Thermostat Wiring

Opting for the brand new usually may not cause issues unless its wiring connection is done adequately. In most cases, the people buying the thermostat may have put it in the wrong way.
During its installation, you should pay attention that the wire through the thermostat is securely mounted. If a recently purchased thermostat is not wired correctly, you’ll set the thermostat to heat up, but it ultimately will not power the correct wires to turn on the furnace.
How to resolve this?
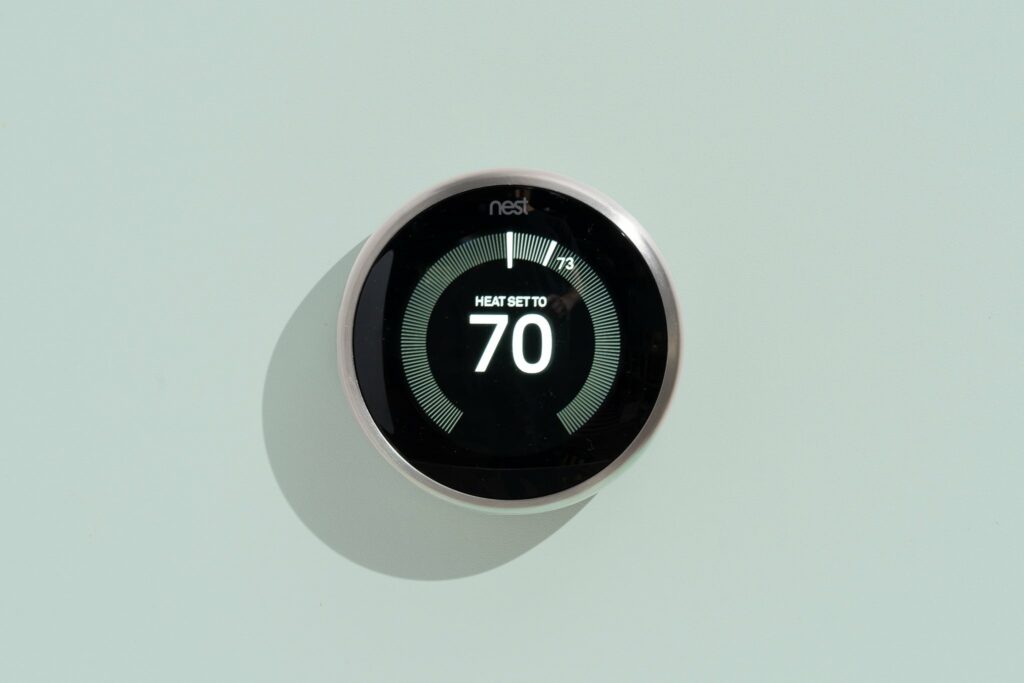
To resolve this issue, you need to remove the thermostat operating panel and inspect the wires individually. However, thermostat wiring colors and terminal is crucial to understand. As a quick glance, keep in mind (for most thermostat models, such as Nest and Honeywell) that you’ll need 2-wire, 3-wire, 4-wire, or 5-wire for heat pumps and furnaces. If you have found that the wires are in their exact places in the proper order, re-wire the device as before. Instead, call an electrician or Smile HVAC specialist.
2. Unstable Electric Connection
After inspecting, you have seen that the thermostat is correctly installed using the wires in its exact location, the actual issue may be the wires themselves. In some cases, these wires may not be able to transmit heat over the signal.
This could be because the insulation is missing, the wires are of poor quality, the wires are too loose, or the connections to the terminals are loose. However, in previous and in this issue, the heat will not come from the indoor air handler or vent, even though you have set the heat on the thermostat.
Keep in mind that the wire used to connect the thermostat is usually made using copper. Even with a lot of twisting and turning, these strings will still be in working condition. When installing a thermostat, a lot of pressure has to be applied to keep them from sticking, resulting in accidentally breaking or cutting the wire. If the thermostat wires are too twisted to be placed in the thermostat set-up, they may not even be able to conduct power signals appropriately.
How to resolve this?
Inspect to see if you have seen cuts in the insulation around the cables or if they appear overly flexible. Keep the flexed thermostat straight or alter the damaged wires if detected. If the wire connections are loose, all you have to do is take the wire and give it a little tug. If the terminal doesn’t hold the wire as it does, re-staple the cable to the terminal.
3. Wrong Thermostat Setting
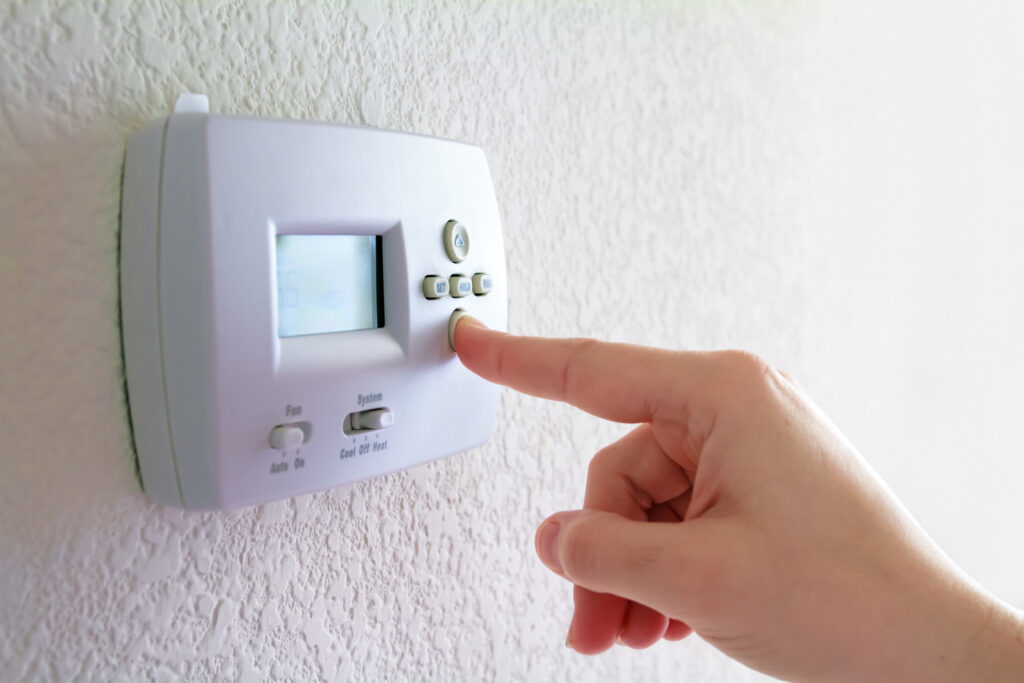
This is one of the obvious reasons why heat does not come its way, even after the thermostat is set to heat on. In return, you won’t get hot air through furnaces or return vents or heat pumps. Simply put, the furnace is unlikely to offer heating if the thermostat’s set temperature is less than, equal to, or only slightly above twice the current indoor temperature.
How to resolve this?
By enhancing the temperature, it is easy to encourage the furnace to turn on. Once the furnace starts heating up, turn the temperature down immediately. If the heat does not turn on even after these approaches, inspect the thermostat settings.
• Inspect if the heat setting is turned on.
• Make sure the fan setting is on auto.
• Make sure the temperature setting is not higher than or so vary from the outside temperature that the furnace cannot accomplish it.
• Check that the temperature setting is higher than room temperature.
4. Filters Catch Dust And Debris
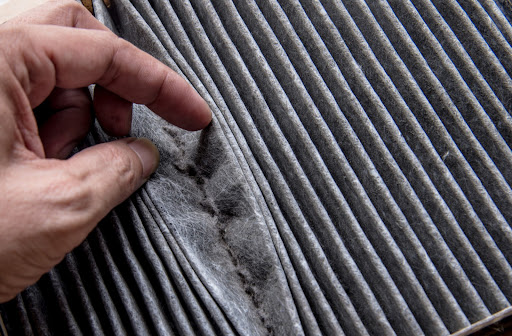
Filters catching contaminants prevent them from heating up. Dirty filters can result in dirty air entering the furnace, which restricts furnace efficiency while preventing improvements in indoor air quality. If left unclean, more debris and dust collect and thus clog the filter. The most significant disadvantage of restricted airflow is improper air passage for heating. Inadequate airflow can also cause the furnace to shut up and overheat.
How to resolve this?
Replace the existing filter with the latest purchased filter. To inspect the filter’s condition, locate where air flows into the unit from the return vent. And when buying a filter, take the size and model number of the filter into consideration.
However, there are a variety of filters available in the market in many sizes and with different MERV ratings. Also, note the arrow on the substitution before placing it. Install the filter with the arrow pointing toward the unit and slide the filter into the slot. Well, the filter should be changed every 1 to 3 months. Inspect the filter every month, and alter it when needed or if it looks dirty.
5. Dirty Flame Sensor
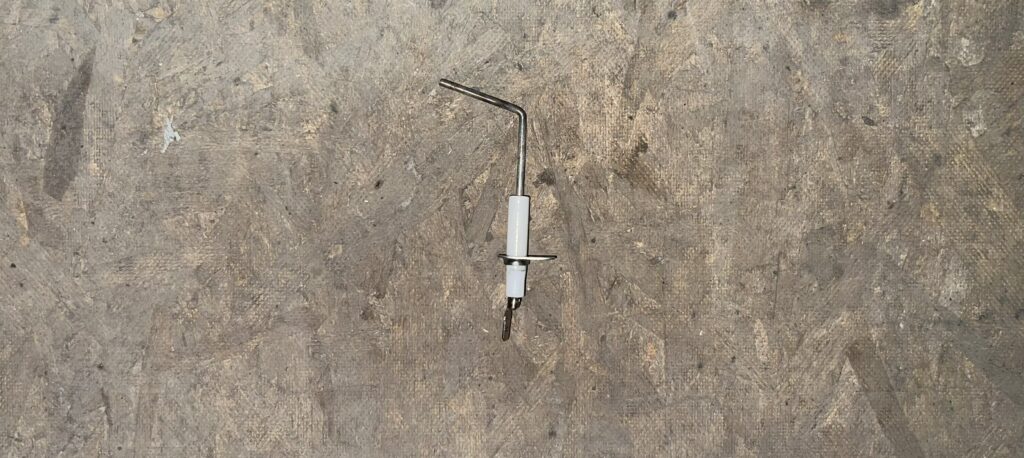
In a furnace, the flame sensor plays a vital role in igniting the burner when the gas valve is operating. Once it stops igniting, the sensor shuts off the gas supply to prevent the indoor environment from being filled with flammable gas. These sensors become exposed to the burner flame and, over time, become coated with carbon and soot deposits. The more dirt the sensors pick up, the less they can sense the flames. That’s why it is essential to keep them clean.
How to resolve this?
Begin with checking your flame sensor. Dislocate the furnace to the power from the circuit breaker or furnace switch. When turning it off, if you notice that the furnace is still hot, allow it to cool thoroughly before working on it.
In the meantime, check the furnace manual to find the flame sensor. Next, use a screwdriver to take off the access panel. Here you’ll find the flame sensor, which looks like a thin, possibly bent metal rod that extends near the burner. Usually, the sensor is placed in each furnace using a quarter-inch hex screw, and the wires are affixed.
Take off the screw and slide the sensor out in the next step. Make sure the sensor is completely disconnected from the cables. If the metal rod looks coated or rusted, then you need to clean the flame sensor thoroughly. If the sensor is not working even after a thorough cleaning, replace it as soon as possible.
6. The Furnace was Disconnected from Power Supply
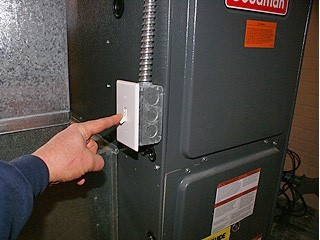
Like electric-powered furnaces, gas furnaces demand power to operate. A turned-off power switch or tripped breaker prevents the power flow to your furnace. To light a gas furnace, you have to make sure that the ignitors get a significant power boost. If you’re installing a new thermostat, you may have an undersized circuit breaker that will need to be upgraded.
How to resolve this?
To begin with, observe whether the power switch of the furnace is on or not. It may look like a regular light switch and is closer to the unit. However, the exact location varies in size from model to model. Inspect surrounding studs or walls, furnace walls, floor joints, and ceiling. If you find that the above position is off, turn on the switch and wait for the furnace to start. Inspect the circuit breaker to determine whether the switch is in the “on” position or if the furnace fails to start after turning it on.
In essence:
- If the power switch is in the off position, toggle the switch to turn it on.
- In the event of tripping, the power switch shall be in the center position. Reversing in that particular direction will not make the position current. To reset it, toggle the switch off and then on again.
Tip: If you suspect the breaker trips instantly, call an HVAC expert to detect the issue.
7. Outdoor Heat Pump Coils are Not Working
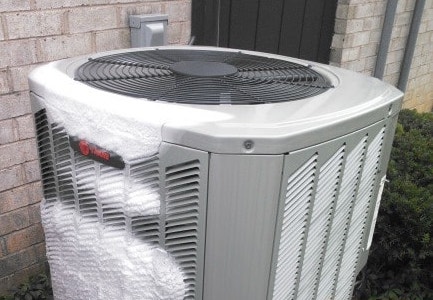
The outdoor unit of the heat pump unit will be prone to freezing over time due to drastic changes in cold weather. For this reason, heat exchange will be disrupted. Of course, providing heat is essential. In the case of a frozen coil, the thermostat will show that the heat is on, but in reality, the heat pump will be unable to operate. Check if there is any white snow with varying brown color deposits on the coils.
How to resolve this?
Various reasons cause freezing in outdoor coils. These include dirty filters, low refrigerant levels, and low outdoor temperatures. To resolve this problem, you’re advised to call your HVAC professional. Calling Smile HVAC can help solve major issues, from removing all accumulation or replacing the heat pump, if necessary.
The thermostat is not working
If the thermostat is not in its true working stage, it may cause the furnace to stop working or shut off frequently. Check the reasons why your thermostat is malfunctioning:
- If a sensor is broken, it may cause the thermostat to misguide the temperature. Usually, broken sensors come with 5 to 10 years of lifespan.
- A dying or weak battery might stop the thermostat from running. Before the cooling and heating season begins, alter the battery for nonstop airflow.
- Smart thermostats also tend to trap dust and dirt, causing them to malfunction. In addition to giving it a good cleaning, check for loose connections or rusted wires.
- Incorrect installation may also prevent the furnace from starting.
Bottom line
Hopefully, reading the above-mentioned information will help in locating the actual problem that may be causing the thermostat to heat up, but no heat coming from the vents. If you are unable to resolve any of these points yourself, call a Smile HVAC specialist for additional help and assistance.