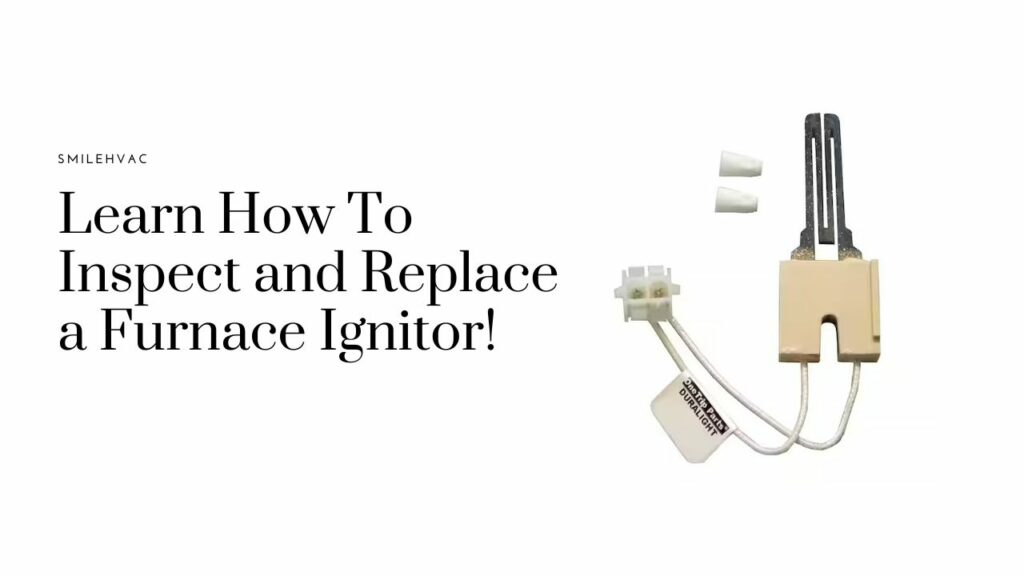
How To Check and Replace a Furnace Ignitor?
Using a gas furnace can sometimes be a nightmare when it stops blowing hot air. Since natural gas has no inherent heat, a gas furnace requires an ignition unit to ignite the gas and produce heat for your living space. Of course, having a problem with furnace parts, especially the ignitor, is troublesome, so quick repairs or replacements have to be done whenever needed.
Being the workhorse of gas furnaces, an ignitor is essential in ensuring that your unit operates efficiently and safely. But once the ignitor is damaged or doesn’t work as it used to, in some cases, an installed gas furnace may stop turning on or operate poorly.
However, knowing the problem is thoroughly based on what type of furnace ignitor you own. Almost every older furnace unit features a permanent pilot light. In contrast, newer gas furnaces have an in-built electronic ignitor to start the furnace and are the most well-known variety of gas furnaces today.
Once you’ve located the exact ignitor problem, you need to know how to replace or repair it with a few simple steps. Replacement can be difficult, however, so it is necessary to have expertise in certain areas related to the furnace and its components before stepping ahead into the process.
How to inspect and replace a furnace ignitor in a few simple steps!
- Set your furnace at room temperature
- Shut down your furnace and detach the ignitor
- Unscrew and take off the service panel
- Examine the ignitor for damage and crack
- Remove old ignitor cables
- Use a multimeter for testing
- Place a new ignitor
- Turn the furnace on
Symptoms Of a Faulty Furnace Ignitor
Your home thermostat conveys a signal to the operating board during the burning process. If you do not see the orange ignition glow or do not see the pilot flame, or do not hear a continuous clicking sound, it means that your ignitor is faulty.
Once the signal is delivered to the furnace, it usually begins to operate by turning on the inducer motor and sending a signal through a pressure switch, also known as a limit switch. Afterward, the signal is carried to the pilot engage or electric ignitor.
If you do not see the orange ignition glow do not see the pilot flame, or do not hear a continuous clicking sound, it means that your ignitor is faulty. Cracks or abundant whitish build-up found in the metal also indicate that your ignitor needs repair or replacement.
Even if the aforementioned symptoms haven’t appeared in front of you but you have noticed the signal is exiting the control panel, unfortunately, your furnace ignitor is malfunctioning.
How Can The Ignitor Hurt The Operation And Other Components?
The normal working ability of a furnace can be greatly affected by a malfunctioning ignitor, ranging from keeping the unit on full throttle to continuous cycles of stopping and starting. The ignitor can sometimes stop working if other furnace parts are malfunctioning. So before beginning a furnace repair at home, call Smile HVAC for a better inspection.
How To Replace Your Furnace Ignitor?
If you possess DIY expertise around the house, replacing a poorly working ignitor can be easy for you. But, if you are unaware of handling appliance repair and replacement, this may not be suitable for you. In that situation, you’re recommended to call our expert at Smile HVAC.
That said, furnaces are complex units comprising electronic modules, blower fans, exhausts, complicated wiring, and gas valves. As upgraded furnace models operate using gas and electricity, it may cause shock or injury if you do not pay attention. So be careful while following the below steps:
Step 1. Make sure your furnace is at room temperature
If you want to check for cracks and damage to the furnace and inspect the ignitor by checking the circuit, make sure your furnace is set to room temperature.
Step 2. Shut down the furnace and detach the ignitor
Unplug your furnace from the wall and turn it off. This must be done before opening the entrance door to the unit. In this step, you should also disconnect the circuit breaker for the unit, which is likely located at the building’s main breaker box or at the furnace.
Once you detach it, some power cables covered in plastic plugs connected to a socket are available here. Take outward the plug and disconnect these cables for maximum safety while handling the appliance.
Step 3. Unscrew and take off the service panel
In the third step, you should have a suitable screwdriver to loosen up the bolts and screws that locate the ignitor to the unit. Take the furnace service panel off on the side and locate the ignitor. Generally, it is assembled around the gas port, and it looks like a V-shaped bracket. Here two wires are attached to its back and come with a flat metal tip.
Step 4. Examine the ignitor for cracks, discoloration, and damage
Take a look at the furnace ignitor and see if there is any damage, warp and chip, broken or cracked parts, and discoloration. Inspecting the ignitor from the inside is necessary to determine what is causing the malfunction. If everything seems fine, the problem may be beyond that or lies somewhere.
If you fail to suspect an ignition problem or the problem is something else, contact an HVAC specialist like Smile HVAC to have your unit looked at. Our furnace team has years of experience finding the root cause and initiating furnace repair work. If the ignitor is completely broken, the only solution left is the replacement. Assemble the new ignitor in the furnace as soon as possible. Before purchasing a new ignitor, note the furnace model number and old and new furnace build-up.
Step 5. Remove broken ignitor cables
If your ignitor doesn’t have visible cracks or damage, take plug extractors to remove the cables inside the furnace socket carefully. Be careful when following this step, as getting the ignitor out requires precision and patience.
Be sure not to damage the ignitor as it is delicate and sensitive. You should wear safety measures such as gloves when working with the igniter. Remember that moisture, oil or greasiness of the skin can cause damage later on or damage it permanently.
Step 6. Utilize multimeter for ignitor testing
Once you have followed the above steps, you need to use a multimeter. Set it to the low resistance test and keep the probe on the side of the plug for the ignitor. The ignitor staying at zero or showing perpetuity means it needs to be replaced because it has stopped working.
Step 7. Place a new ignitor
Place the suitable ignitor into its location in the unit. Make sure the screws are neither too tight nor too loose. Place the plug of the cord into the power socket and reconnect it by attaching the cover panel to the fuser. When the furnace is securely assembled in place, turn it on.
Step 8. Turn the furnace on
Finally, set your thermostat accordingly and wait for some time. Pay attention to the hum coming from the furnace to make sure the ignitor is burning things inside. If everything is placed correctly, the ignitor will begin to heat up. The safety valve or gas valve will let gas through to the ignitor when the optimum heat is reached.
A connection between the gas and the igniter will result in a fire. The longer the ignition, the more slowly the heat will flow through the furnace to your entire home. Keep an eye on the temperature to check whether the igniter has been successfully replaced. If the temperature rises, it means you have done the right thing. But that doesn’t mean professional checking and frequent maintenance shouldn’t be considered. Professional inspection and diagnosis ensure accuracy and better repairs.
Replacement Cost of Furnace Ignitor
The actual cost of replacing the furnace ignitor can vary based on the furnace model, whether it is an electronic or gas ignitor. For components and technician service charges, you can expect to pay about $150 to $400 for a complete replacement. You may need to spend around $20 to $50 for DIY replacement. Contacting a certified expert from Smile HVAC can offer the most affordable solutions as an additional bonus.
Bottom line
Knowing a furnace ignitor is bad, through a few symptoms, can be easy. These include the furnace shutting down, cold air coming from the vent, flashing red light, the unit constantly turning on and off, constant clicking, etc. If you have observed any of these signs in your system, feel free to call our technician at Smile HVAC.